This in depth tutorial shows how to create a film damage effect using procedural dust and scratches in eyeon Fusion.
You can download the example .comp file here
This in depth tutorial shows how to create a film damage effect using procedural dust and scratches in eyeon Fusion.
You can download the example .comp file here
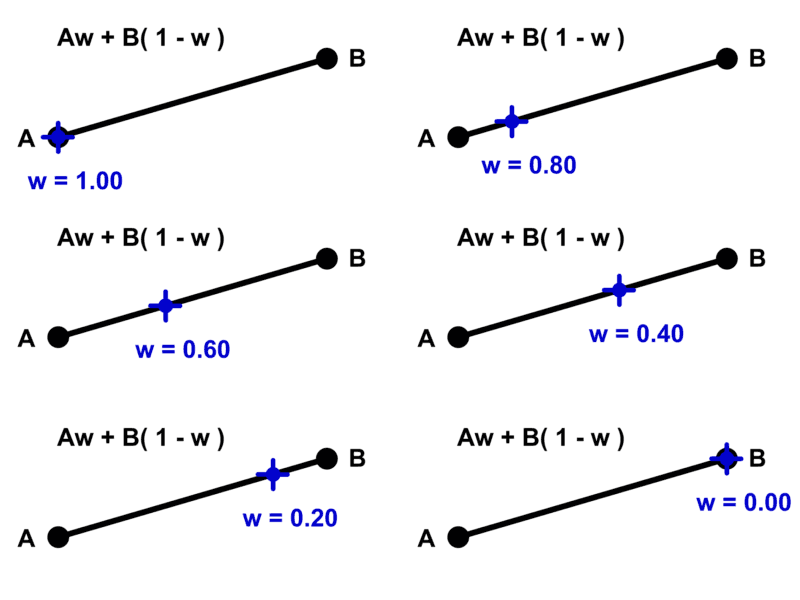
This is a simple but very useful equation to blend between two values A and B.
( A * w ) + ( B * ( 1 – w ) )
w is a weight value.

When w = 0 the answer is B,
and when w = 1 the answer is A.
( A * 0 ) + ( B * ( 1 – 0 ) ) = A
( A * 1 ) + ( B * ( 1 – 1 ) ) = B
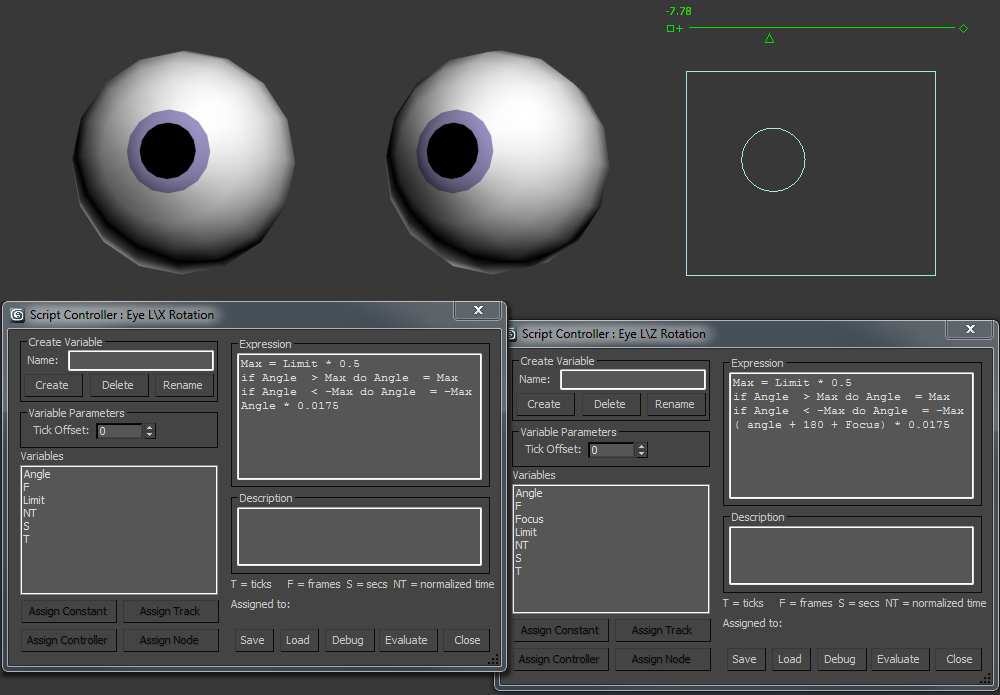
This equation is used all over computer graphics. It the basis of compositing pixels, and can be used to make controls for technical animation ( see this eye rig setup for 3dsMax )
In this tutorial I use an expression script to animate a blend between two changing positions. This allows the creation of a new point based on the current position of two other points.
You can download a sample file here
The convention is write equations concisely without the * for multiplication like this:
A w + B ( 1 – w )
This is because hand written algebra tends to use single letters for variables, and multiplication signs can get confused with the variable x. While this form is easier to read, it can be confusing were people are used to reading computer code, and are expecting * for multiplication and long variable names.
3dsMax script controllers are enormously powerful tools for creating custom character rigs. This tutorial will show you how to make a very simple eye rig in 3dsMax and introduce script controllers to make an animator GUI.

So cameras work in Stops and composite packages use Gain. To convert between the two we need to do a bit of log maths. Heres how.
To convert from Stops (f) to Gain
Gain = 2f
To convert from Gain to stops (f)
f = log2 Gain
This is equivalent to:
f = ( log10 Gain ) / ( log10 2 )
If you want to see why then we’ll need to look a little deeper at log maths
Continue reading
A couple of 3dsMax UI tweaks I use to make things a little slicker and quicker.

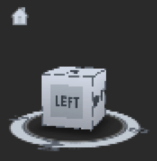
The view cube‘s animated rotation feature can cause the scene to drift. You might notice that after clicking on a face of the cube the viewer says orthogonal when we’d expect it to say: left,or top, etc. When the view is slightly off axis, it can cause problems if I’m trying to animate or model accurately.
Also if I’m trying to work quickly waiting for the UI update is a pain so I like to turn this feature off.
![]() The home button is useful for getting back to the same custom view. I find it useful to quickly return to the same point of view while I’m working on a particular feature.
The home button is useful for getting back to the same custom view. I find it useful to quickly return to the same point of view while I’m working on a particular feature.
To set a ‘home’ view:
Right click on the home button and pick > set current view as home.