


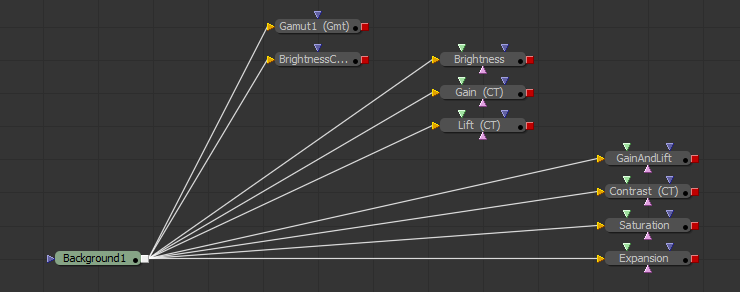
This is an advanced tutorial. But If you can: add, divide, multiply, and subtract then you can understand the basic maths of colour correction.
Reply
This is an advanced tutorial. But If you can: add, divide, multiply, and subtract then you can understand the basic maths of colour correction.
Setting pathmaps is my top tip if you work with Fusion on different computers. Often drive letters or working folder names will change so when you open a Fusion .comp on a different machine all the loaders fail and you have to reconnect then. Using Fusion pathmaps stops this happening and saves a lot of time.
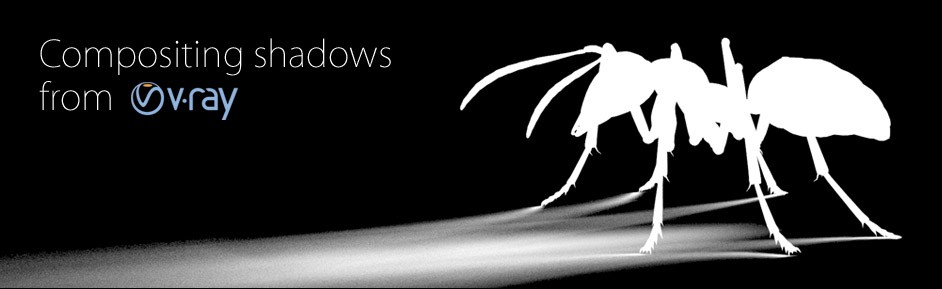
Shadows help place the CG elements in the world. Literally grounding it in reality. Rendering them is easy, but for more control we need to separate the shadow layer for compositing. Creating them in 3dsMax isn’t hard and here’s how to setup V-Ray to separate the necessary passes.
This is the outline of our linear workflow. It works for both Fusion and Nuke.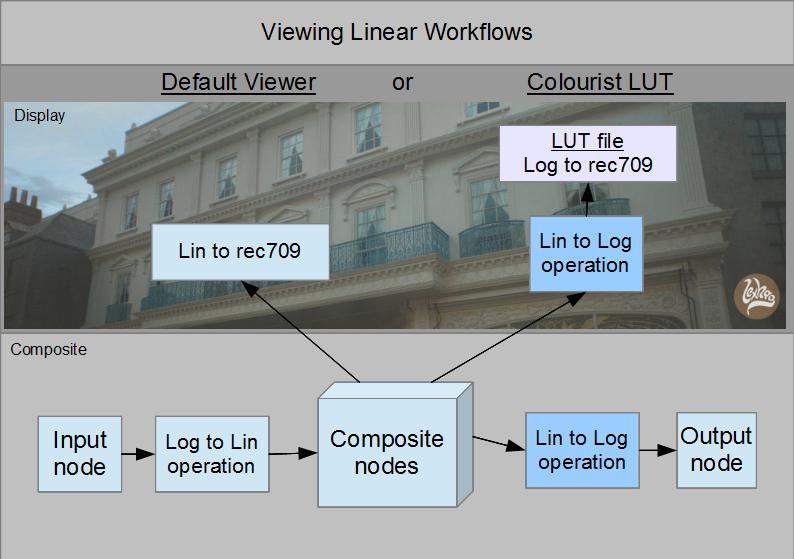
Setting up our linear workflow is relatively straight forward.
The key points are:-
There are two methods for viewing the composite.
This in depth tutorial shows how to create a film damage effect using procedural dust and scratches in eyeon Fusion.
You can download the example .comp file here