Once again its the sci-fi London 48hour short film competition. It gets bigger every year , and this time I almost managed to get some sleep.
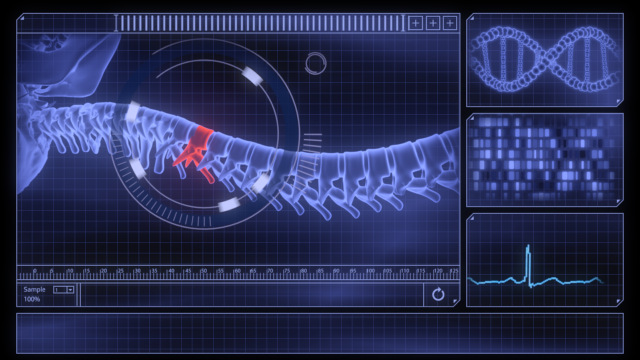
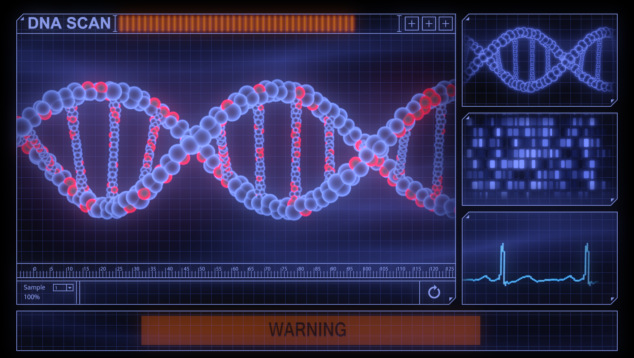
I had a lot on over the weekend so couldn’t join the #TheCreepyGuys on location. It wasn’t until Sunday afternoon that I could get down to Modelling the DNA and Skeleton.


I was beginning to feel squeezed for time but fortunately my house mate Dan gave up his Sunday evening help out.
We spent a while looking at Jorge-Almeida’s work and some Oblivion UI’s. While they had weeks of design work compared to our hours. It gave us something to spring our ideas off.
Dan then moved on layouts in Adobe illustrator while I wrangled with the 3d elements and composite tests
With work the next day Dan went to sleep at midnight. But I kept tweaking the 3d elements until I got the final locked cut from Karel at 5am. That left me 4 hours for 6 shots on no sleep !
I liked the idea of a simple Blue colour palette to contrast with Red danger areas. I needed next to nothing render times to reach the morning deadline. After a couple of test I decided to use the Max Scanline render for the particles and Fusions OGL renderer for the skeleton.
I needed every minute of the 4 hours to drop all the elements into place and match Alix’s performance. But I got the final shot to Tom at about 8 in the morning, leaving him just enough time to render short and deliver it to the judges.
As ever there is loads more I would like to have done. I made some pretty cool particle tests to represent DNA sequences. We left a big space for them in the GUI. But alas there simply wasn’t time to add them.
It’s a joy to work with such a talented crowd. Hopefully I’ll see them all at the cinema for the final.


